How to Build the Second Best Loudspeaker in the World (DIY Line Array Speaker Plans)
2021-12-31
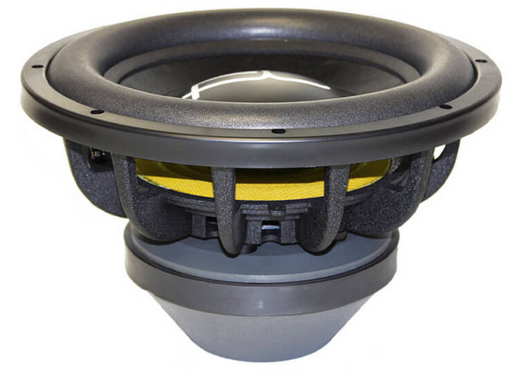
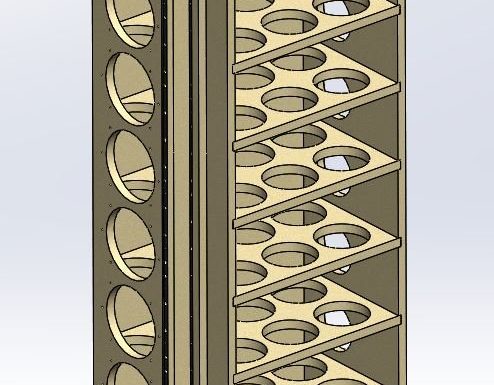
Background I first read about “line array” speaker designs around 2010 and have been fascinated by them ever since. As the name suggests, Line Array speakers consist of an array of identical speaker drivers placed directly beside each other in a long line. Because each speaker driver is so close to the one next to it, the result is constructive/reinforcing interference between the outputs of the speaker drivers. For a traditional vertical speaker configuration, this causes the sound to be more focused vertically (i.e. focused directly in front of the speaker and not toward the floor/ceiling) and more broadly and evenly distributed horizontally (across theRead More →